Google released the v1.1 of Google Ads Editor in July this year. One of the features introduced with this release was including IP exclusions
In this post, we take you through the steps to add IP exclusions to your Google Ads account, in Google Ads Editor.
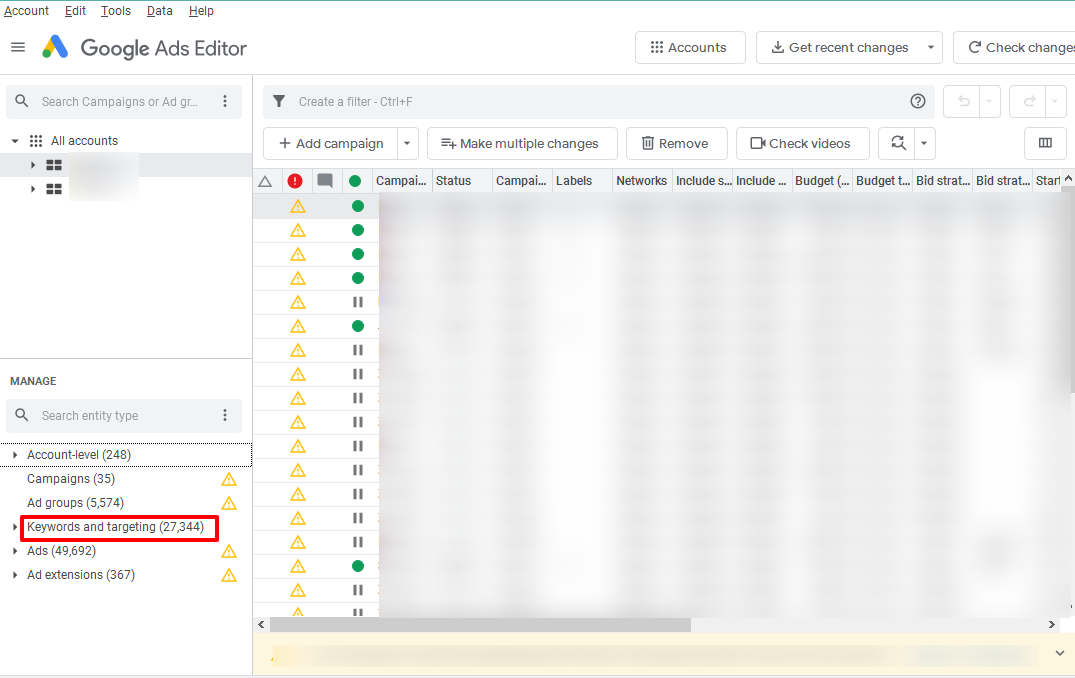
Step 1: Go to your account in Google Ads Editor. From the left hand menu, expand the ‘Keywords and Targeting’ section
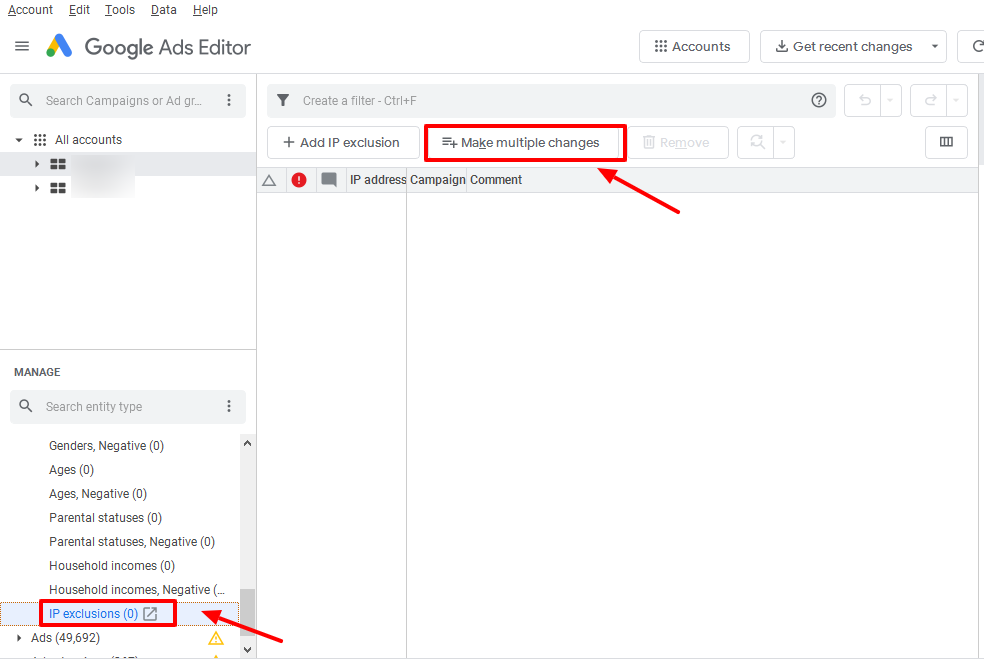
Step 2: Select IP exclusions from the expanded section. Click on ‘Make Multiple Changes’, to add bulk IP addresses
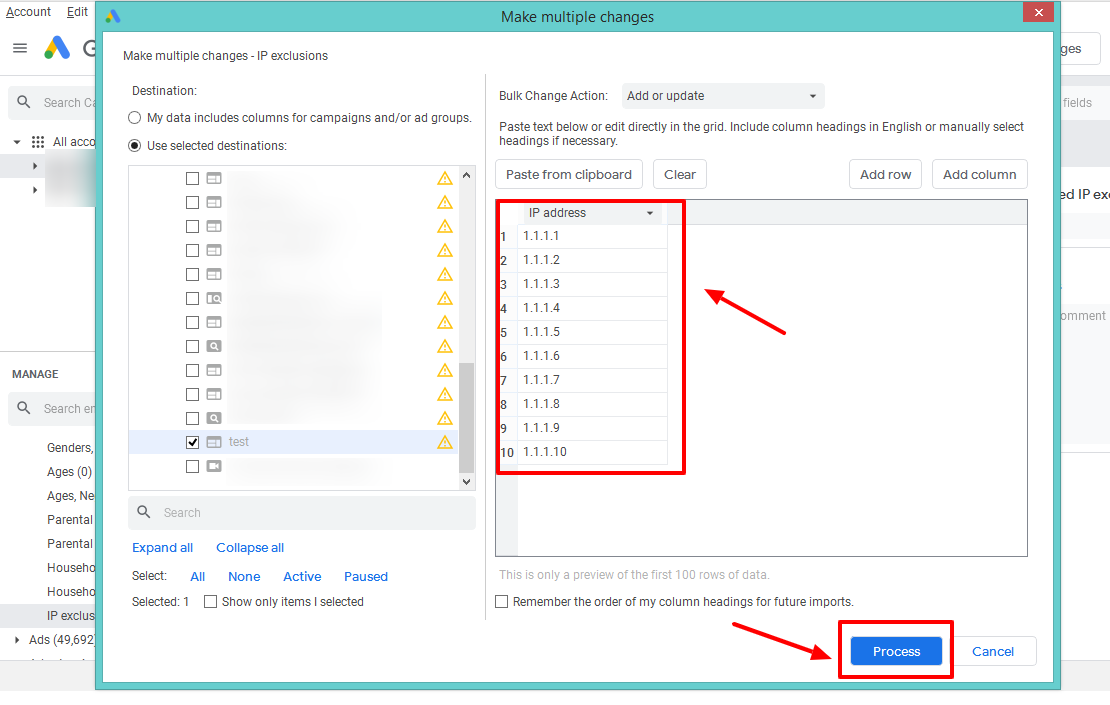
Step 3: Now select the campaigns to which you wish to assign the bulk IP changes.
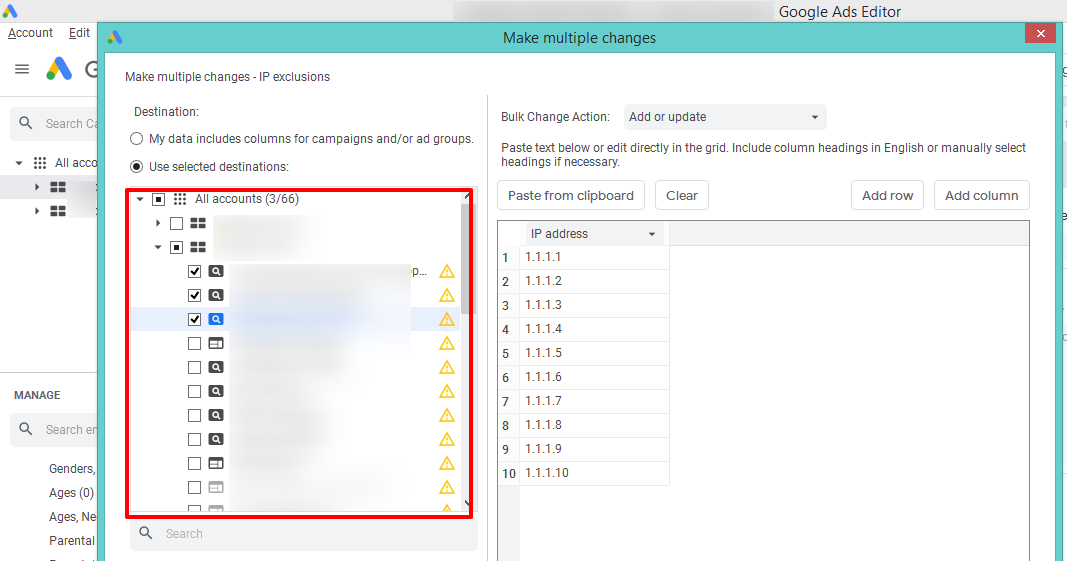
You can either copy from your sheet and on Google Ads Editor paste the IP address by clicking on ‘Paste From Clipboard’ or you can select IP address from the drop down menu and add the IP addresses manually.
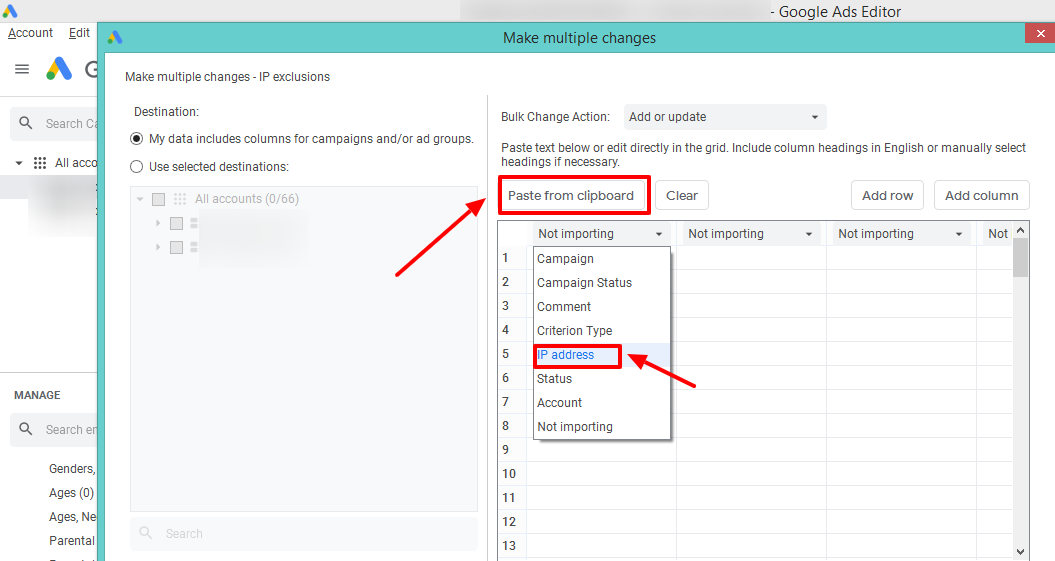
Once you IP addresses have been added successfully, click on ‘Process’ for the next step.
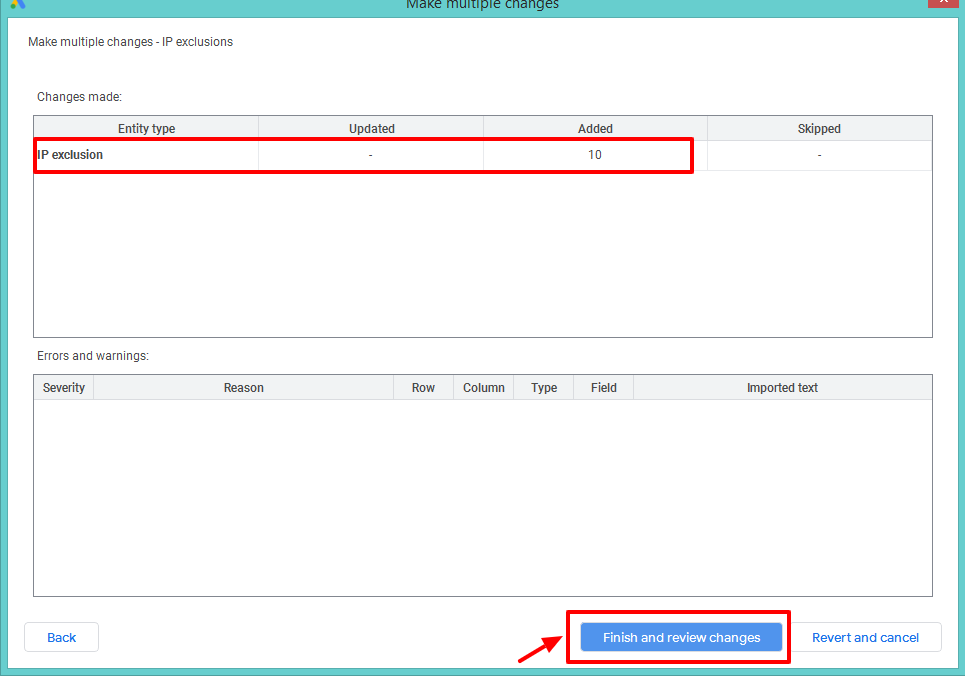
Step 4: Preview the changes that you have made and if there aren’t any errors to look into, then ‘Finish and Review the changes’
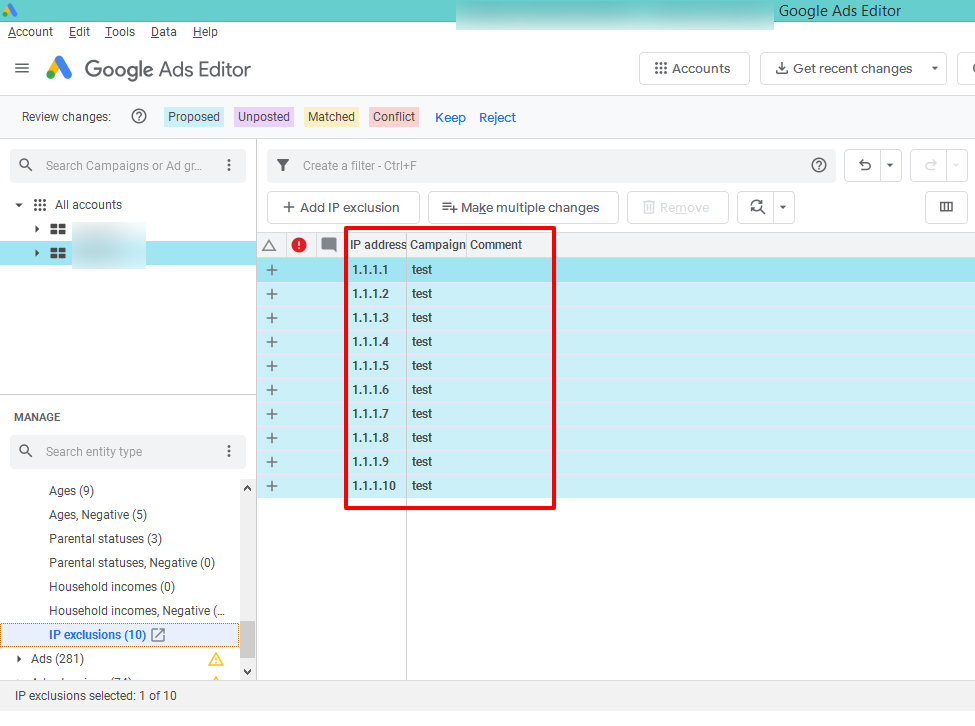
Step 5: In the next step, review the changes that you are about to make.
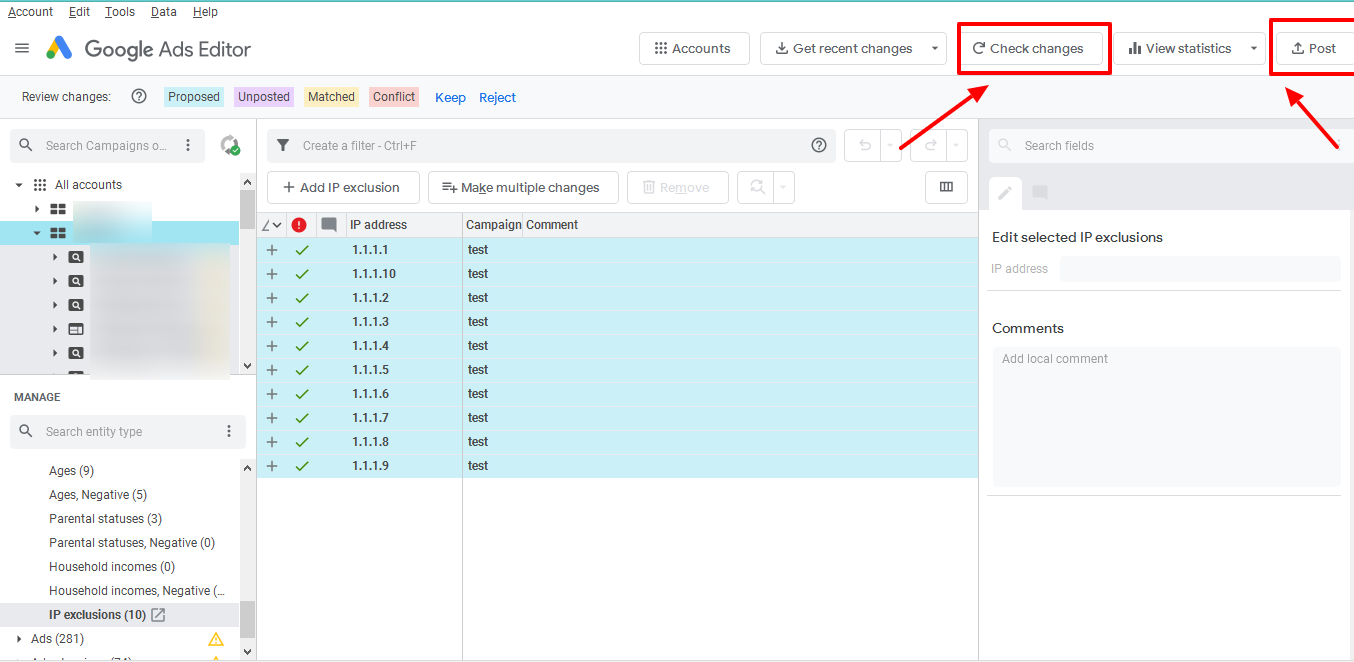
Step 6: Once the changes are final from your side, click on ‘Check Changes’. Once that is processed, all IP address will have a green check against each entry. To make the final change, click on Post, to update it to your selected campaigns.
Related Links:


Stop the wasted ad spend. Get more conversions from the same ad budget.
Our customers save over $16 Million per year on Google and Amazon Ads.